


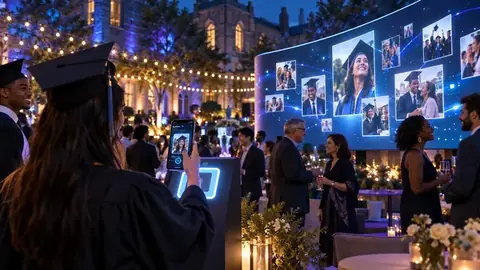






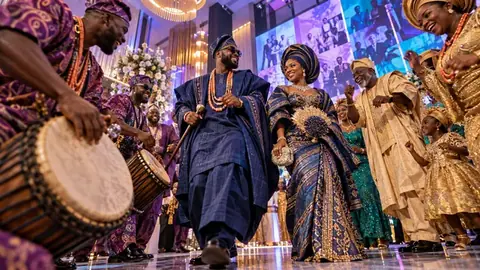
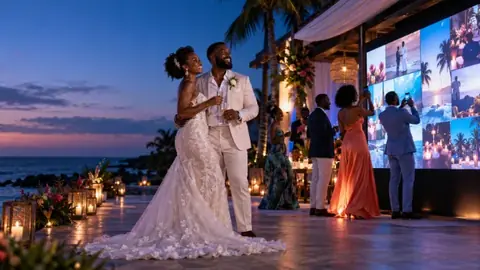




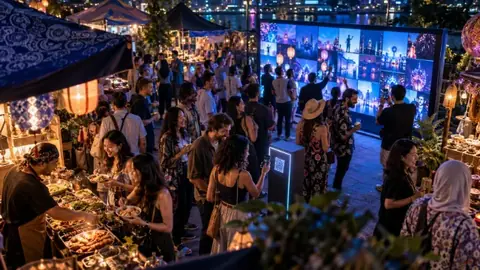





An event is one wall with its own QR code, guest link and approval queue. You can run as many events as you like from one account.
Create the event
- In your dashboard, click New event.
- Organisation: if you run more than one, pick which one the event belongs to. Billing is per organisation.
- Event Name: this shows on the guest page and on the big screen, so write it the way guests know it, for example "Amira & Sam's Wedding".
- Start Date & Time is required. End Date & Time is optional.
- Photos per Guest: choose 1 or 3. New events start on the Free plan, which allows up to 3. You can raise it after upgrading.
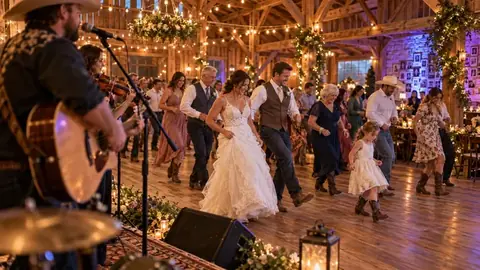
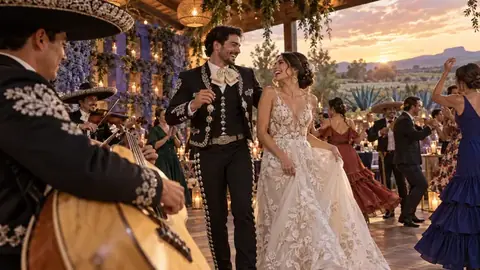
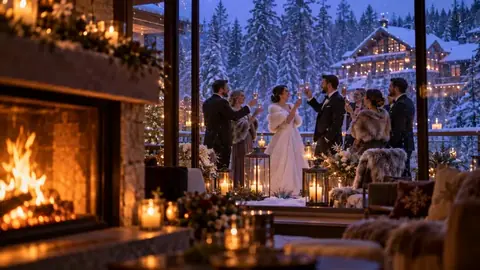
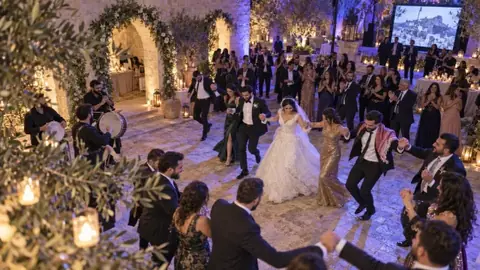
- Wall Theme: pick one of the Themes, or a Brand template if you want to add your own logo and colours later. You can change the theme at any time.
- Click Create Event. You land on the event page.
What you get straight away
- A guest link and QR code, plus a 6-character code for guests who can't scan, under Overview → Guest link & QR code.
- A private live wall link under Overview → Live wall link.
- The approval queue, from the Moderate button at the top of the page.
Your event starts as a Draft
New events start in Draft, so guests who scan early see "This event has not started accepting photos yet." When you're ready, go to Overview → Event Status and click Active. See Draft, Active and Ended.
Note
The event name, date and web name can't be changed from the dashboard yet. If you need a change, message our team and we'll update it for you.
Tip
Every new event starts on Free. To unlock videos, voice notes, more photos and the recap video, see Upgrade an event.