




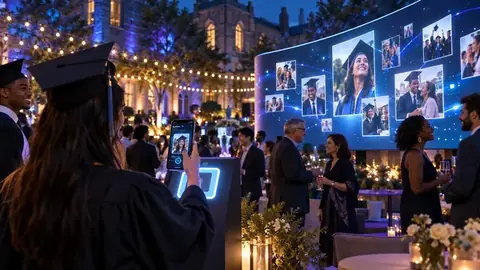




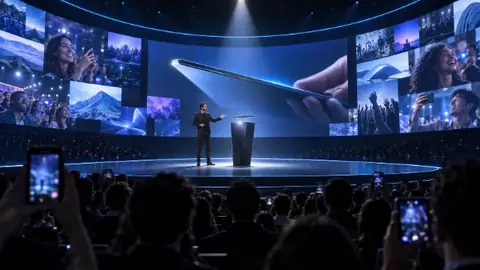

















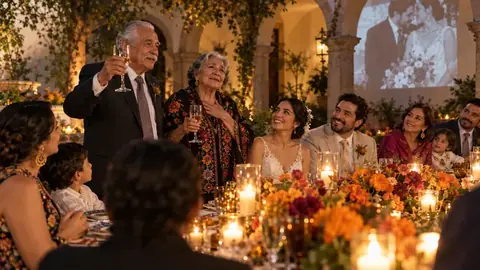
Pixloud turns your event into a live photo wall. Guests scan a QR code, share photos, videos, voice notes and messages from their own phones, and after you approve them they appear on the big screen within seconds. No app, and no account for guests.
The three parts of every event
- The guest page. What guests open when they scan your QR code or type your 6-character code. They pick Photo, Video, Voice or Message and press send.
- The approval queue (Moderate). Every post waits here until you or a helper approves it. Nothing reaches the screen without a person saying yes.
- The live wall. A web page you open on the laptop connected to your TV, projector or LED screen. Approved posts appear on it automatically and rotate all night.
A typical event, start to finish
- Create the event in your dashboard. It takes about two minutes. See Create your first event.
- Set it up. Choose what guests can share, pick a wall theme, and add your logo if you like.
- Print the QR code on table cards or show it on a slide. See Print table cards and signs.
- Test it a day before with your own phone. See Your event-day checklist.
- On the day, set the event to Active, open the live wall on the screen and approve posts as they arrive.
- Afterwards, download everything in one zip, make a Moments recap video, and share it with your guests.
Tip
You can try everything on the Free plan first. Free events take up to 25 posts, which is plenty for a test run with friends.